Bosch Professional Zubehör Expert C470
Grain size 180

Have the insoles of your Birkenstocks turned dark? No need to worry. To make them look nice again, you don’t need fancy care products or soap and water.
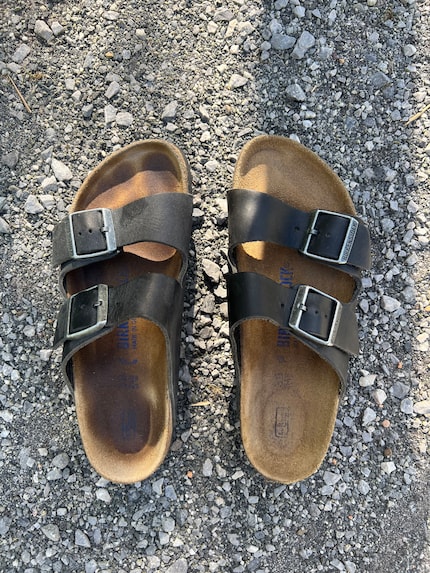
Anyone who owns Birkenstocks with a typical suede or imitation suede footbed knows that a dark layer will form on them at some stage – a mix of sweat, grime, dust and dirt. For many wearers, this is a sign that the shoes are well broken in. And I agree to a certain extent. However, after my Arizona sandals were put through their second intense summer, I’m more repulsed than in love with the comfortable shoes.
So I scoured the internet for tips and tricks on how to get my trusted pair back into shape. Turns out several Birkenstock-savvy individuals recommend the same thing in Reddit posts and video tutorials from professional service shops. What’s that, you ask? Sandpaper. Sounds strange at first, but works incredibly well.
First up, you should know that this hack isn’t suitable for smooth-leather Birkenstocks or those with EVA footbeds.

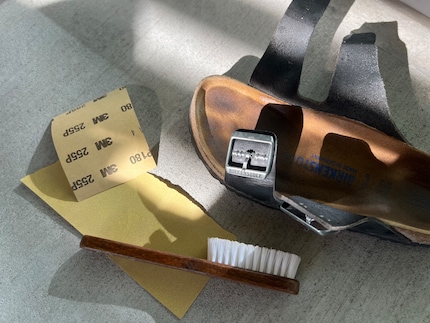
Basically, fine grit sandpaper is all you need. A grit size of 120 to 180 is recommended. While I found the coarser one a little too rough for my taste, the 180 paper was perfect. If necessary, you can finish with very fine sandpaper and a cleaning brush.

Bosch Professional Zubehör Expert C470
Grain size 180


If you’re working with sandals, undo the buckles on the straps first. This gives you the best access to the footbed. Next, gently sand down the dark areas. Fold or roll up the paper or wrap it around your finger, depending on where you want to use it.
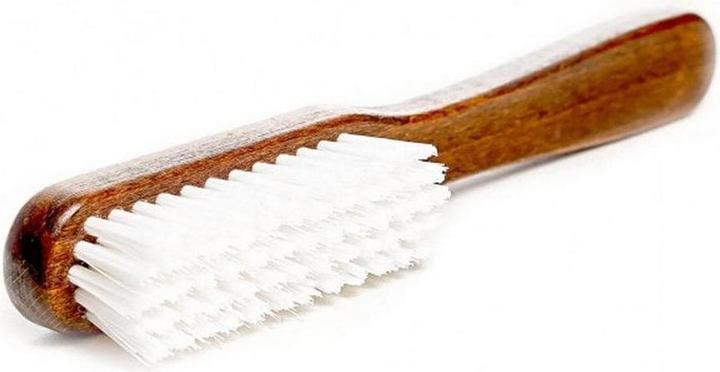
Once everything looks clean, you can optionally go over it with very fine sandpaper to finish, although I didn’t think this was necessary in my case. Instead, I used a scrubbing brush to get rid of the sanded-off material.

I was amazed at how quickly and easily the patina came off with the sandpaper. In under ten minutes for each shoe, the footbed looked spick and span again. And all without expensive care products or household remedies such as baking soda, which can damage the leather and make it stiff. The freshly roughened suede (wearing it will automatically make it smoother again) also felt wonderfully new to my feet.
By rubbing the surface, the footbed will naturally wear away. In other words, this procedure shouldn’t be repeated on a regular basis. Not that that’s necessary, either. But if the sight of your sandals is making your stomach turn and you’re thinking of banishing them to the cellar or even chucking them, it might be time for a little overhaul.
Has endless love for shoulder pads, Stratocasters and sashimi, but a limited tolerance for bad impressions of her Eastern Swiss dialect.
Practical solutions for everyday problems with technology, household hacks and much more.
Show all