
Clean thing: I brew my own liquid soap
I make my own liquid soap and show you how it's done, what can go wrong and what I'll do differently next time.
The message has slowly got through to me too: Solid soap flows again. It's more environmentally friendly because no water is transported, it's versatile and lasts practically forever. In fact, pretty much everything speaks in favour of replacing liquid soap with its hard counterpart.
But unfortunately, even the most convincing arguments can't persuade me to wash my hands with the slimy block, the residue of which sticks to the soap holder. As a child, I was always overcome by a kind of obsessive mania that ordered me to clean every dirty soap holder that came my way. Only to find it dirty again a short time later. Nope. Those days are over.
But homemade is timeless, so I simply make my own liquid soap. Do it yourseif. Or like this.
This is what I need
Finally, I have a use for the «fragrant» chunks that scent my wardrobe and for some inexplicable reason are given to me from time to time. A discreet hint? I hope not.
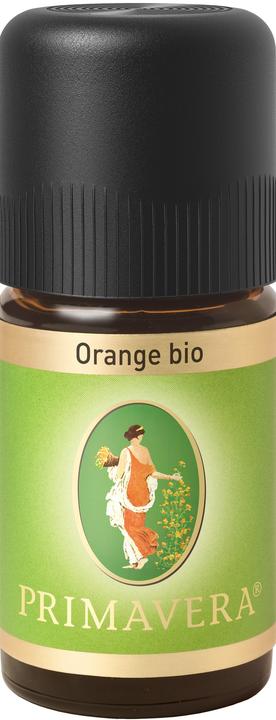
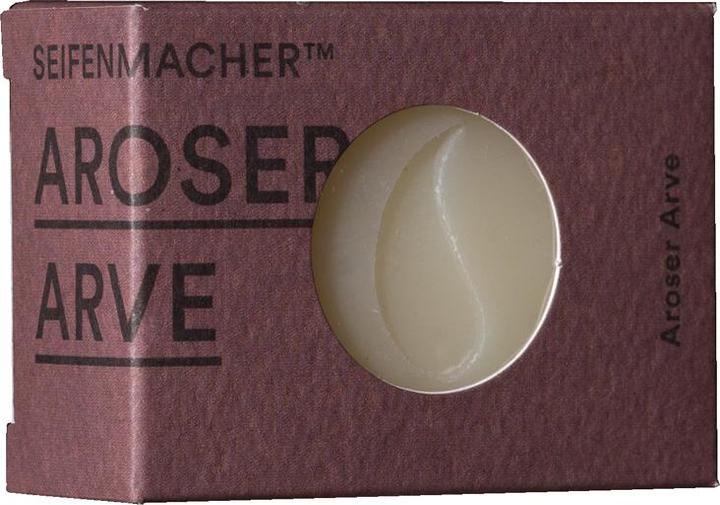
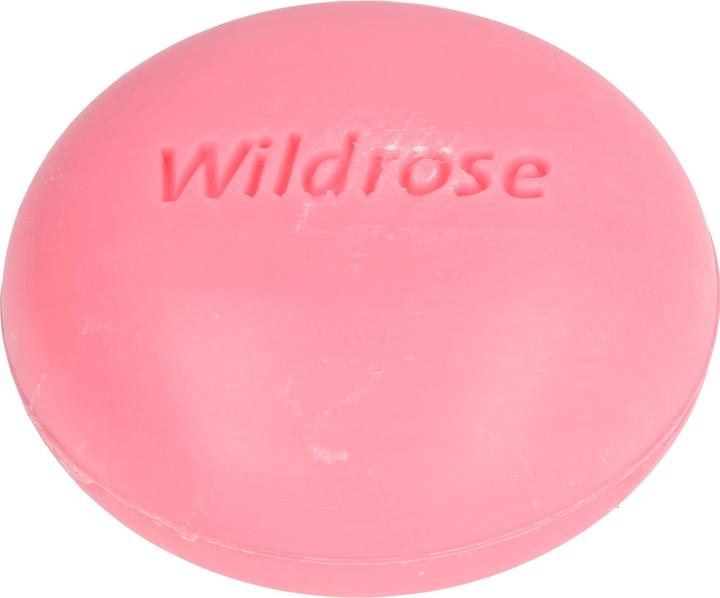
For my first attempt, I'm using the rose soap. When I sniff the fragrance bomb, it smells like a visit to Great Aunt Trudi, complete with wet cheek kisses. What's more, the floral scent could go well with my new favourite fragrance, orange oil.
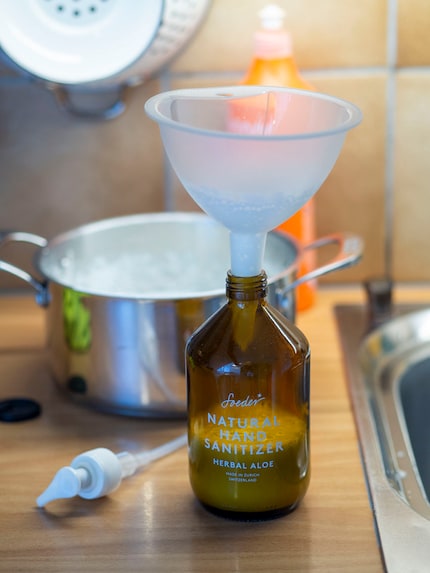
The finished liquid soap then goes into a pump dispenser from the Soeder sanitiser that I received as a gift during the pandemic. Since then, it has been a pseudo-luxurious statement piece in my bathroom.
Step 1: Grating
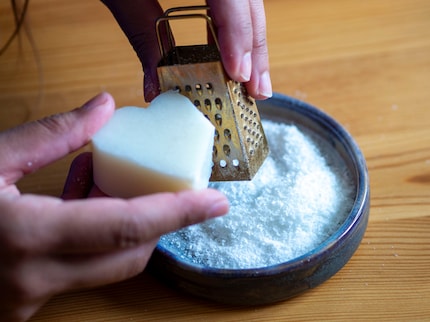
Whether diced or grated: Firstly, the soap needs to be broken down into small pieces. I play it safe and grate the block after weighing it. It weighs about 60 grams, so I need about 600 millilitres of water.
Step 2: Boil and dissolve
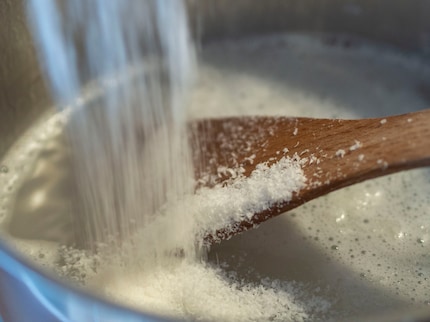
I bring the water to the boil first - then let it bubble away on a medium heat while I gradually sprinkle in the grated soap and stir the broth constantly.
Step 3: Wait and stir
Once the soap has completely dissolved in the hot water, I put the pot to one side, wait and stir the mixture regularly. The liquid soap thickens after just two hours and turns into a hard, rubbery mass. So I pour in some more water and stir vigorously.
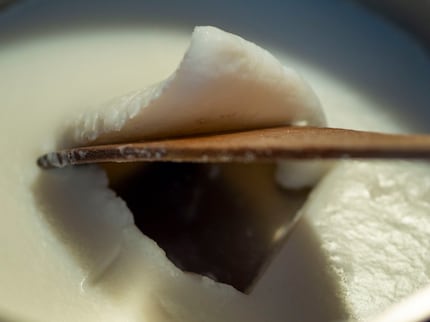
Step 4: Add the fragrance and olive oil and blend
The next morning, the soap has absorbed most of the water again and is therefore not quite as liquid as I would like it to be. So I add more water until I get the right consistency. Then comes the finishing touches: I add a few drops of orange essential oil for the fragrance and three tablespoons of olive oil for natural skin care.
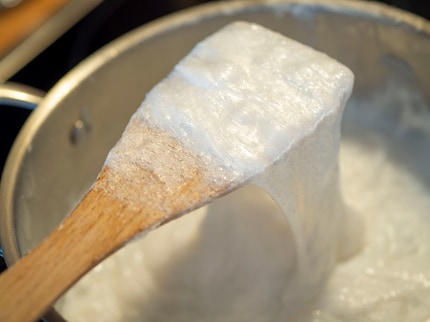
To break up the lumps, I have to use a hand blender. Incidentally, the lowest setting, so that no foam forms, only worked medium for me. But not so bad. Because I was constantly adding more water, there's now more soap in the pot than I'll ever need anyway.
Step 5: Filling and washing hands
I use a funnel to fill the recycled pump dispenser with what fits in it. Unfortunately, the rest ends up in the sink. Not quite the zero-waste success story I had hoped for.
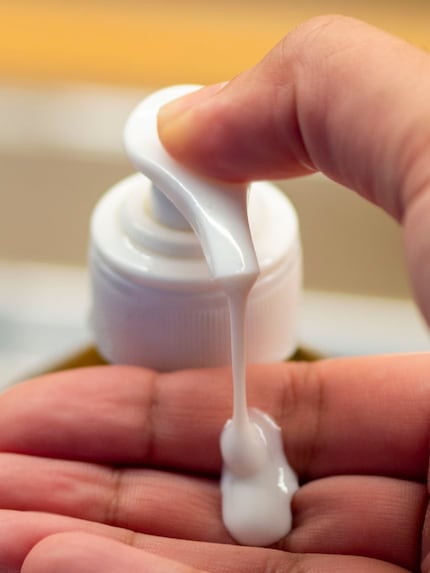
When I wash my hands for the first time, I am pleasantly surprised: the soap feels smooth and soft on my skin, similar to body lotion. After rinsing it off, however, the feeling in my hands is less soft than I am used to. This is probably because I have got used to the additives in the liquid soap.
The liquid soap miracle? My summary
It works. Solid soap really can be transformed into liquid soap. If the initial scent is right, it can even be really fun. Unfortunately, the rose odour was more persistent than I had hoped. Even the orange oil didn't quite put it in its place.
New recipe, new happiness
The fact that I had to add so much water at the end is probably due to the type of soap. [According to this recipe](https://www.smarticular.net/neutrale-bio-handseife-preiswert-selbst-herstellen/#:~:text=%C2%A0(the%20amount%20of%20C3%A4depends%20very%20strongly%20on%20the%20soap%20used), the amount of water needed can vary greatly depending on the type of soap.
That's why I'll start with less soap next time. Firstly, because the dosage is a bit of a lottery and secondly, because liquid soap without preservatives doesn't last forever. Two to four weeks - after that there is a risk of mould growing in the pump dispenser because of the water.
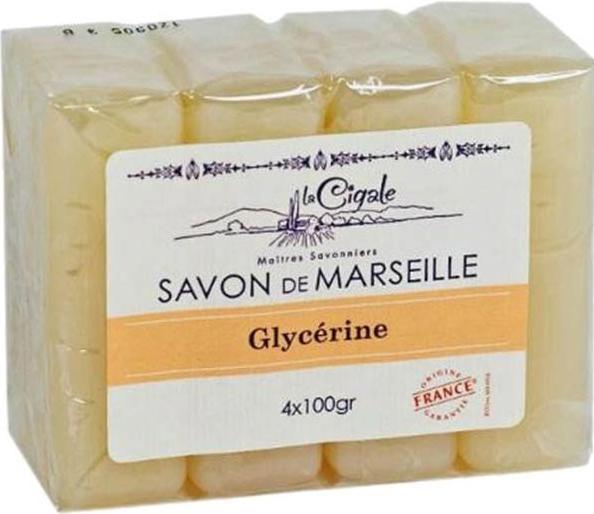
I will also use soaps that either have a neutral fragrance or smell pleasant from the start. I also add a little glycerine to the mixture. This is to moisturise and protect the skin from drying out.
And the remaining bars of soap? They can continue to scent the wardrobe. After all, they do their job quite well.
Want to know what else you can use the curd soap for? Michael Restin provides some suggestions in his article.
Painting the walls just before handing over the flat? Making your own kimchi? Soldering a broken raclette oven? There's nothing you can't do yourself. Well, perhaps sometimes, but I'll definitely give it a try.
Practical solutions for everyday problems with technology, household hacks and much more.
Show all
