
Product test
The Lego Game Boy is a Nintendo nerd’s dream
by Domagoj Belancic

I like to liven up my bookshelf. My latest decorative addition is a self-assembled "Book Nook". The DIY kit from Robotime not only cost me my composure, but also a lot of self-esteem.
Imagine letting your eyes wander over a bookshelf on which one book spine is neatly lined up next to the next. But there, right between two books, a small niche opens up. You look in and peer into another world. Everything in miniature. This is not the clichéd beginning of a young adult fantasy novel, but a so-called "book nook". A decorative element for your library that you can buy ready-made or make yourself as a DIY project. Either guided by your creativity or with the help of a modelling kit.
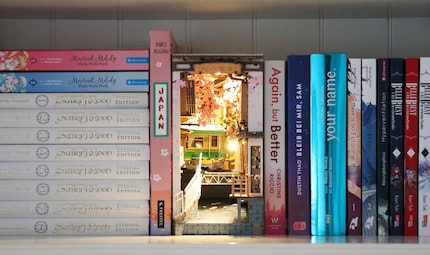
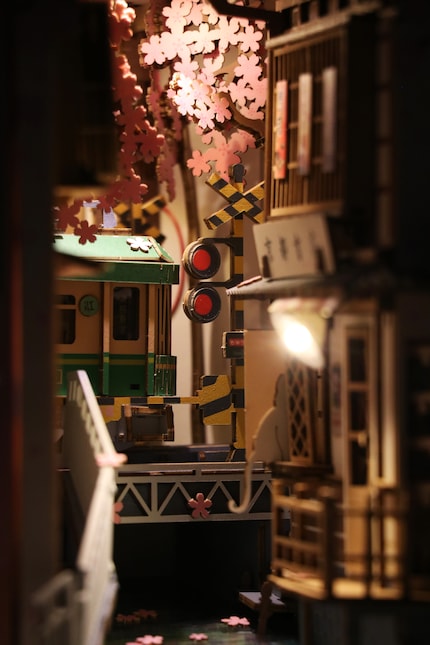
I've been ogling creative book spines like this for quite some time. Now I've had my first experience with the "Rolife Sakura Densya" set from Robotime, a model kit. The small gate transports the viewer to a Japan adorned with cherry blossoms and provides a view of a train crossing a narrow river.
The person assembling the thing is travelling straight to hell on this train. But more on that later.
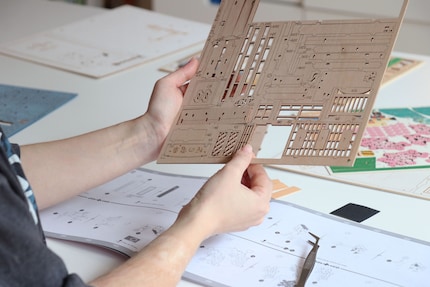
The set includes various wooden, cardboard and plastic sheets from which numerous numbered elements can be detached and stuck or glued together. All according to the instructions. Two small LED lights, glue for the cables, screws and a screwdriver are also included, as well as a small piece of sandpaper, which will become my closest ally as the project progresses.
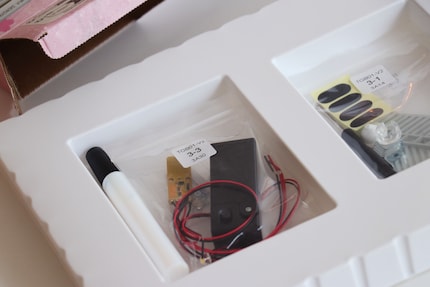
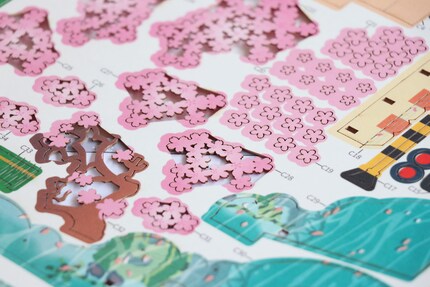
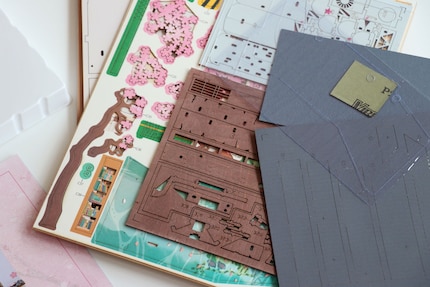
I also recommend a lot of patience, (curved) tweezers and clothes pegs. I'll come to why in a moment. You will also need two AAA batteries at the end, which are not included in the scope of delivery.
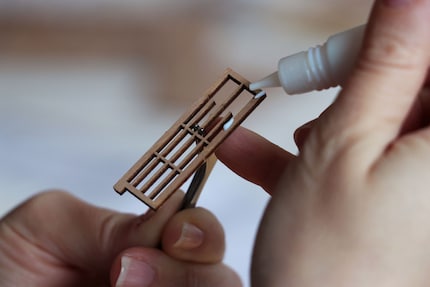
I'm making suspiciously fast progress, especially at the beginning, and I'm amazed at how well the individual elements fit together. The instructions are easy to understand and the glue is stronger than my nerves. It is also easy to dispense thanks to its narrow, tapered opening.


The fact that I'm making such good progress is partly thanks to my bevelled craft tweezers, which I've added as an extra tool. They make it easier to grip, place and hold delicate parts while I apply the glue. I can attach the small cherry blossoms in particular with such precision. Sometimes I also use the tip of the tweezers to stretch the holes in the wooden elements a little so that the parts fit together more easily. The handle of the tweezers is also very useful. I use it to distribute the pressure on long or large elements. This prevents me from pressing too hard at certain points and tearing or breaking the parts.

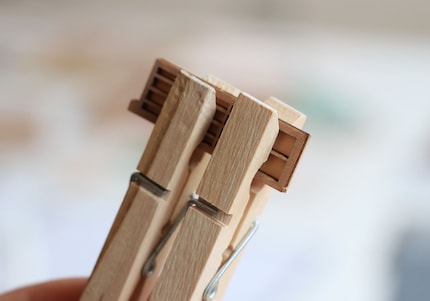
The clothes pegs prove particularly useful in the first half of my adventure. I have to glue many small elements together to form a whole. The glue holds very well, but it takes a moment for it to take hold. To prevent the elements from sliding apart as they dry, I fix them in place for a few minutes with clips.
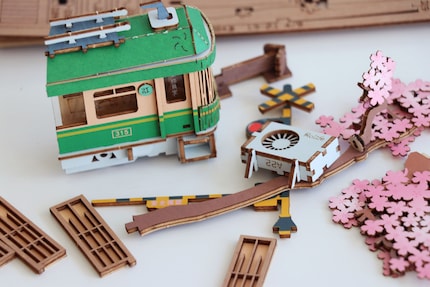
The train, the centrepiece, is particularly difficult for me. It consists of several delicate elements that have to be put together. This requires strength. But not too much, because that could mean the end at any moment and flatten the green vehicle. That's why I think very carefully beforehand about where to apply pressure with a light hand and a lot of sensitivity. From this point onwards, I also reach for the sandpaper more generously and sand down the elements a little to ensure smooth assembly and then add a drop of glue everywhere. Even where the instructions don't say so. Installing the cables also requires a lot of dexterity. They bring light into the scene later.
It turns out that the train (initially my biggest problem) is no match for what I have to do now: The supposedly easiest task, namely joining the individual side walls and large panels, turns into a real ordeal. Only now can I see whether I've worked properly up to this point. Spoiler: nope! Unfortunately, I have to do a lot of pressing, sanding and choking to get the holes and corresponding pins to line up exactly.
Over the course of four days, I pluck up my courage again and again to tackle this task. But with each attempt, more falls apart than comes together. After countless attempts, I seek help from my friend. He holds on, I adjust. Somehow the whole thing comes together in the end and I hardly dare to touch it. I'm too afraid that everything will collapse. Attaching the tiny screws in the corners is also tedious. I dropped one over and over again into the angled structure so that I had to turn it upside down and shake it out very carefully. Pretty daring for such a fragile structure.
The final touch: insert the batteries into the battery compartment underneath the model, set the switch to "On" and then tap the touch-sensitive switch-on symbol on the front at the bottom right of the stone façade. And hold your breath. Phew, the small built-in lights light up. So I've wired the cables together correctly. Looks really nice!
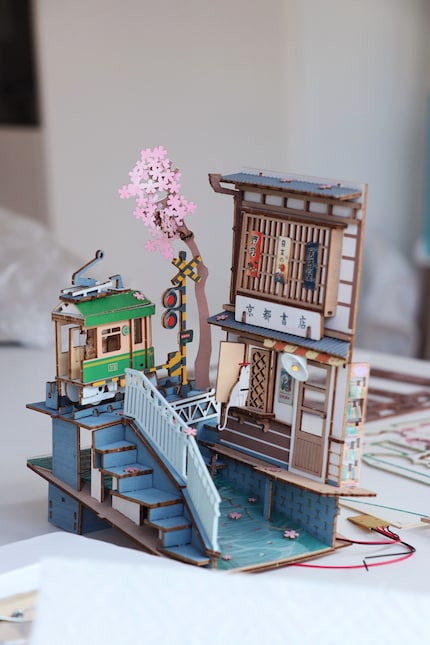
After ten hours of Agressionsmanagement handicraft work, a few wooden mini-parts remain. These are probably particularly susceptible to breakage and are therefore included in the set in multiple versions. Or I have left out important steps somewhere and the thing will collapse at some point. Time will tell. All in all, I'm very happy with the quality. The elements are cut precisely and were easy to remove from the sheet. Here and there a part tore, but not so badly that it would have meant the end of my project.
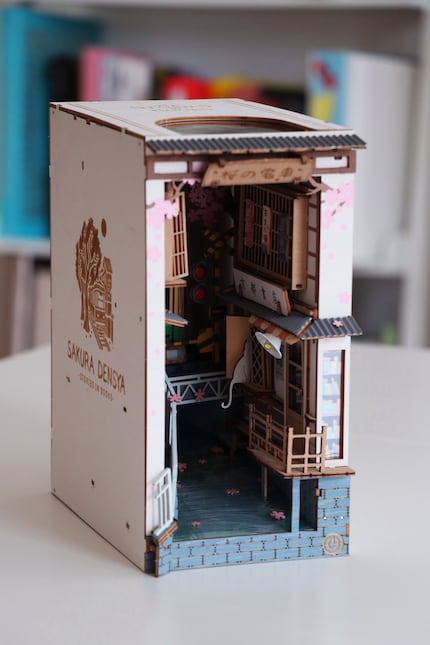
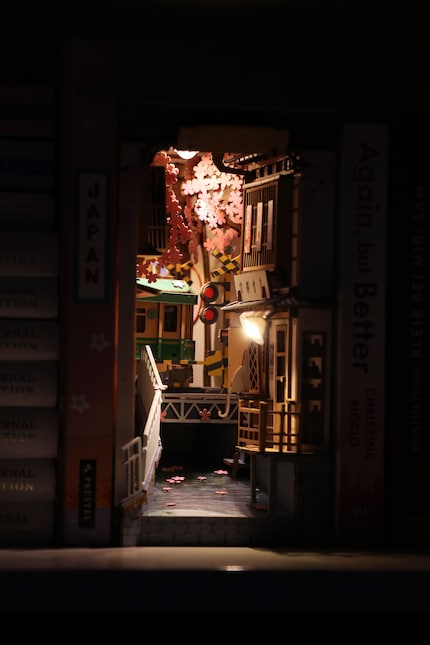
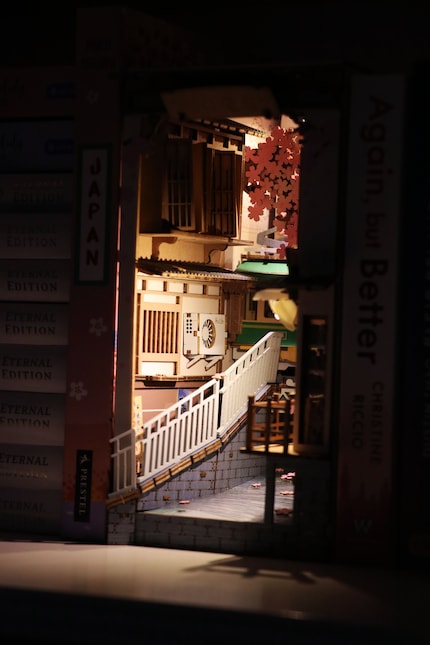
At the beginning, everything is easy-peasy. The elements fit together neatly and precisely as if by magic. But with each new part, the construct becomes more fragile. Initial inaccuracies take their revenge, especially towards the end, where they cumulatively - sorry for the language - smash your face in. My path to the finished "Book Nook" was paved with freak-outs, forced breaks and self-doubt, but looking back I have to admit that I had fun with it despite all that. And the end product is simply fabulously beautiful and a real eye-catcher on an otherwise dull bookshelf. It will probably be a while before I consider a similar project again. My nerves first have to recover from the strain. But I can't rule it out, I'm enjoying the new niche between my mangas too much for that.
Colleague Ramon Schneider also tried his hand at a wooden modelling set from Robotime and failed miserably: [[marketingpage:23679]]
Cover photo: Natalie Hemengül
As a massive Disney fan, I see the world through rose-tinted glasses. I worship series from the 90s and consider mermaids a religion. When I’m not dancing in glitter rain, I’m either hanging out at pyjama parties or sitting at my make-up table. P.S. I love you, bacon, garlic and onions.